If you are on Linux, things should be very simple for you and there is no need for any additional guide.
Emscripten tutorial
Installing Emscripten
At this point we have a working Ubuntu installation in a virtual box, and we've set up sharing between the Windows host and Linux guest.
I'd like to take this opportunity to quote the official Emscripten tutorial:
I've found that, while things really are straightforward, they're not quite as straightforward as one might hope =)
Note that these instructions are, by design, not the most straightforward ones, to show you some troubleshooting methods on the way.

Go back to the work directory and pull emscripten from the git respository. (Note that cd.. without space won't work on linux).
cd ..
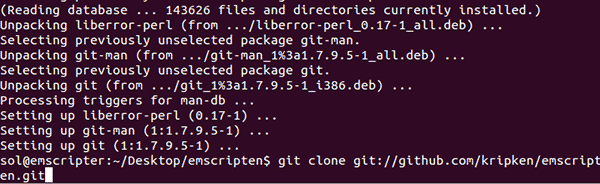
git clone git://github.com/kripken/emscripten.git

Oops, we don't have git. So let's install that first.
sudo apt-get install git
Now we can retry pulling emscripten. You can get the command back by tapping the up cursor key.
git clone git://github.com/kripken/emscripten.git
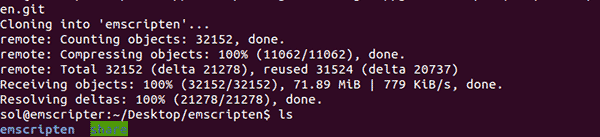
After that's done, we can check what's in the current directory with ls
ls
You should see the emscripten directory (so in hindsight, naming the work directory something else might have been a good idea).
If you want to pull a new version of Emscripten later on, just go to the emscripten directory (under our work directory, which I also named emscripten) and run
Next we'll need LLVM and Clang. Clang is the C/C++ compiler we'll be using.
git pull
You don't need to do that now, as you already cloned the latest version.

To grab the release I used, use the following command. You can also go to this llvm.org page and click on a link there. Checking the page might be a good idea in any case in case there's a new release available. Emscripten only supports the 3.2 release as of this writing, though.
wget http://llvm.org/releases/3.2/clang+llvm-3.2-x86-linux-ubuntu-12.04.tar.gz
It's entirely possible to decompress .tar.gz packages from the command line, but the GUI is much more convenient than trying to remember how to use tar.
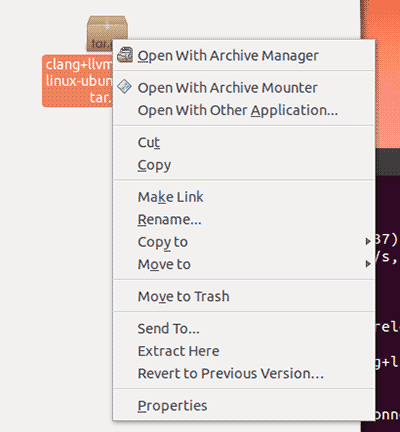
Right-click on the package and click "Extract Here". Assuming, of course, that you have saved the package in the work directory. Using the above wget line will do so, if executed in the work directory.
You may want to rename the resulting directory name to something shorter, but that's not mandatory.
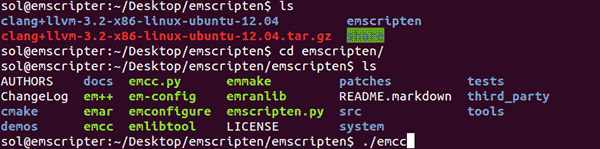
Now we can try to run Emscripten for the first time. It's not installed yet, though - we just do so in order to find out what's missing.
cd emscripten/
./emcc
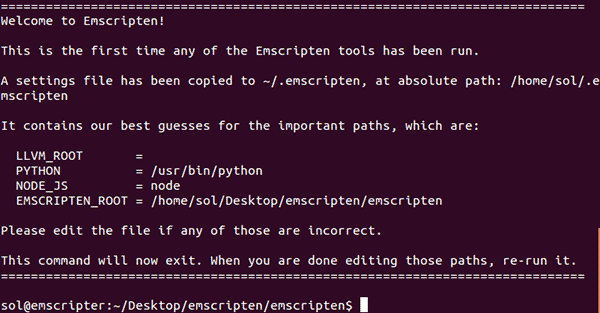
Emscripten notices it hasn't been run yet, so it spews out this informative message. Basically we'll need to edit its configuration file to tell where to find LLVM and Clang.

Let's edit the config file with nano. You can use some other text editor if you want. (Go ahead, use vi if you must. You monster).
The filename /.emscripten just means home directory () and .emscripten as filename. In Linux, filenames that start with a period are not shown by default in ls, so to reduce clutter, config files tend to be named that way.
nano ~/.emscripten
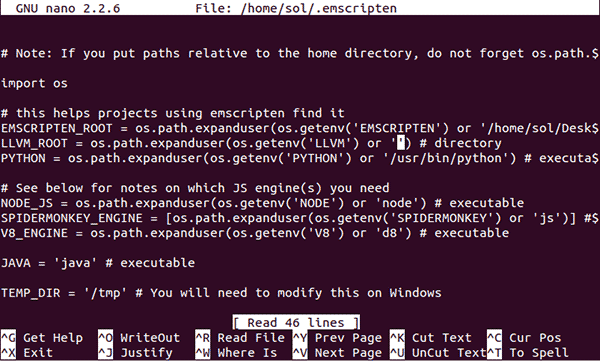
Nano is a relatively user-friendly text editor. Just use cursor keys to move to the place marked in the image on the LLVM_ROOT line.
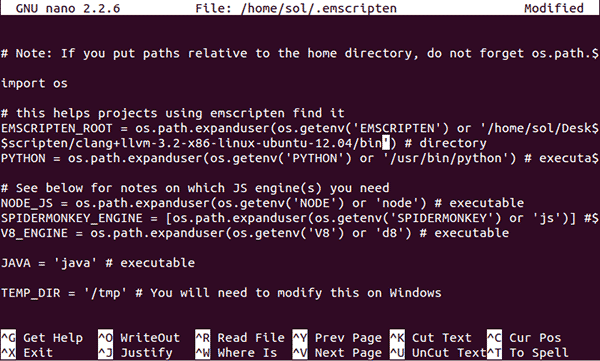
Type in path to the LLVM and Clang binaries. In my case it was:
/home/sol/Desktop/emscripten/clang+llvm-3.2-x86-linux-ubuntu-12.04/bin
(Didn't I suggest renaming the clang directory to something shorter?)
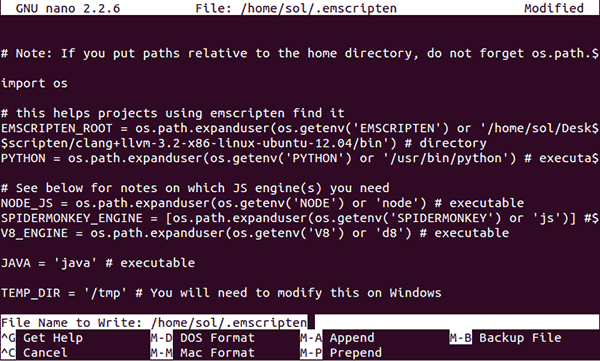
Once done, press Control-O to write changes to file. Hit enter to accept the filename. Use Control-X to exit.
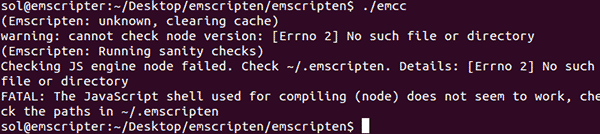
When we try to run ./emcc again, we get complaint that there's no "node".

Trying to run node gives helpful hint on which packages node might be found in, and since we want node.js, we apt-get it.
sudo apt-get install nodejs

Running again tells us there's no JAVA, so we repeat the process..

..and find there's a bunch of options. Let's go with the default.
sudo apt-get install default-jre

When ./emcc is run, we get no more complaints for missing bits! Yay! Let's test whether it actually works.

Emscripten ships with a bunch of test cases, so let's just compile the hello world into a html page.
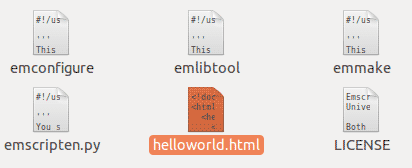
./emcc tests/hello_world.c -o helloworld.html
Just ignore the warning. You should now have a helloworld.html file..
Note that without the -o helloworld.html, you'd get a .js file which you can run with node, if you want. In the long term we'll want graphics, though, so let's just get used to generating html files.
If you double-click on the file, you should get firefox in ubuntu showing this..
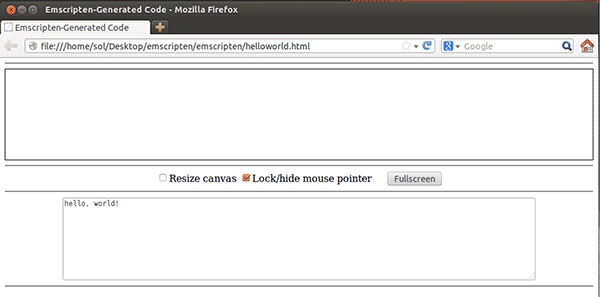
..rather ugly web page. but hey, it says "Hello, world!".
The reason why the page looks like it does will become apparent in the future.

Let's move it to the Windows side by copying the file to the share we set up earlier.
cp helloworld.html ../share
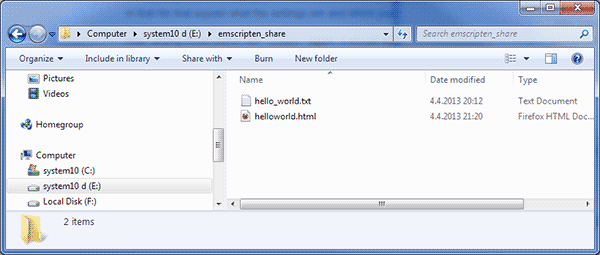
Now you should see the file in Windows explorer on the Windows side.
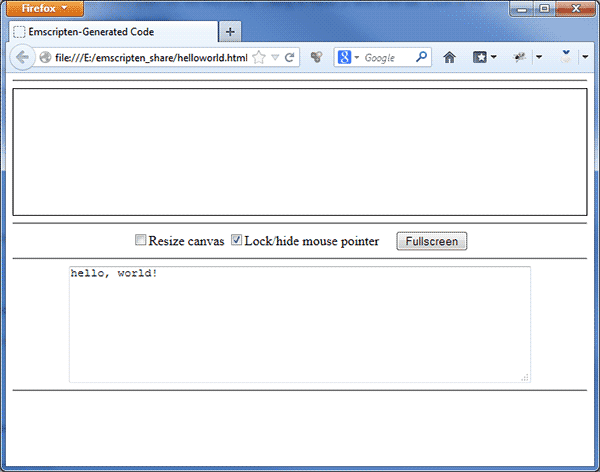
Running it gives the same web page in your preferred browser on Windows.
Next we'll look into the Emscripten framework..
As usual, feedback is appreciated.