Emscripten tutorial
Installing Ubuntu
If you did not do so before, go and download the ISO image of Ubuntu from the Ubuntu site. I picked the 32bit 12.04 LTS version, primarily because I don't feel like reinstalling my virtual boxes every year or so..
Also, if you didn't do so already, go to your virtual box settings, storage tab, and add the Ubuntu ISO image as an IDE device.
Click on Start, and you should, after a while, see..
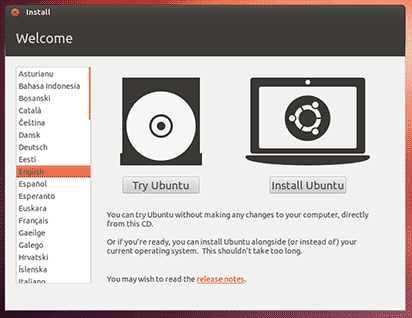
Since we're here to install Ubuntu, click on "Install Ubuntu".
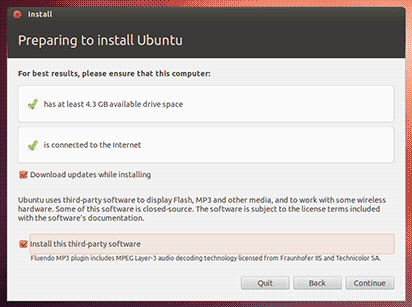
Check the boxes to download updates and to install third party software, and continue.
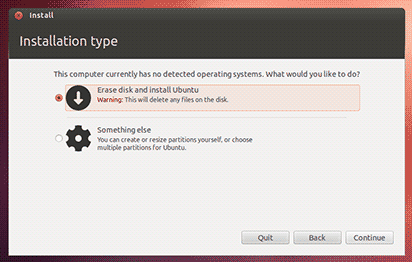
Here you're given option to erase disk and install ubuntu, or to do something else.
Don't panic!
Remember, you're installing in a virtual box, with a virtual disk. Just click on continue.
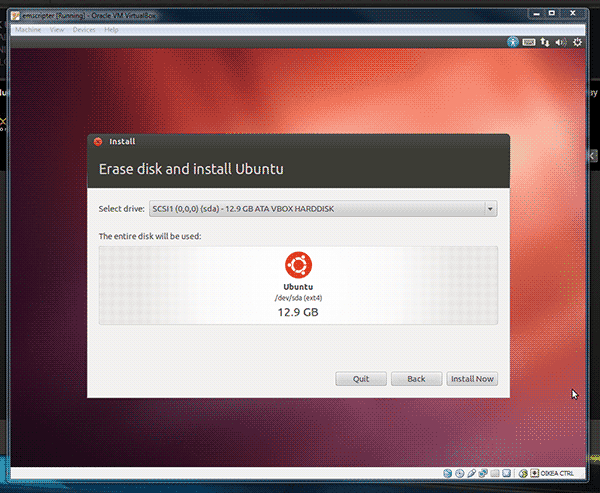
You're still given an option to back out. As you can see from this screenshot, we're safely in the virtual box. Hit install now.
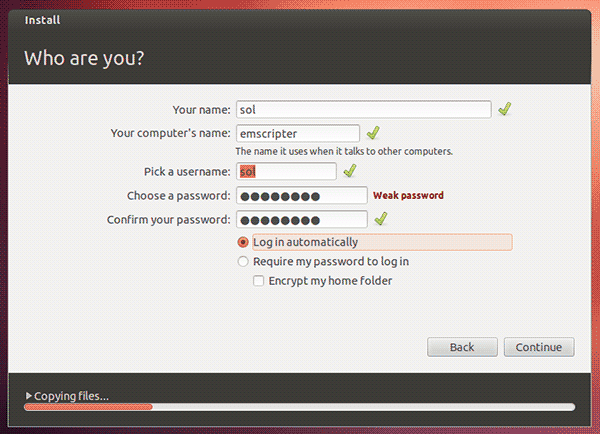
While installing, the Ubuntu installer asks you to fill out various pieces of information such as your keyboard type, and the primary user account information. Since this is a virtual box, I saw no reason not to log in automatically. You will be prompted for the password often during setup and later on if the screen saver kicks in, so make it something easy to remember.
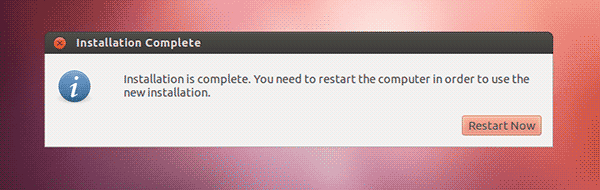
Once install is complete, Ubuntu installer prompts you to reboot. Why not?
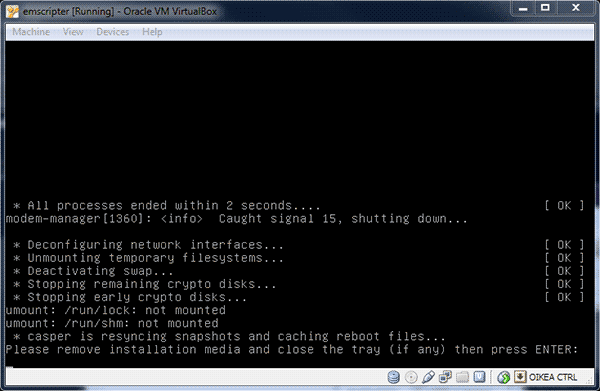
The virtual box goes into text mode and asks you to remove the installation media.

To do so, click on Devices -> CD/DVD Devices -> IDE (IDE Primary Master) -> Remove disk from virtual drive
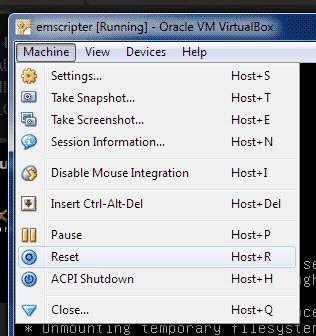
You can try hitting enter, but it did nothing for me. To restart the virtual box, pick Machine -> Reset from the virtual box menu.
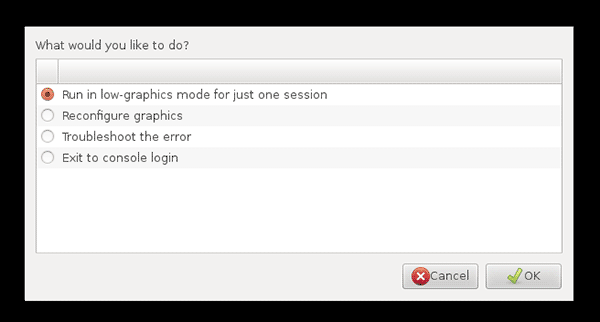
Once Ubuntu reboots, we hit a snag: no sane graphics modes were found. To fix this, we need to install the virtual box guest additions, which works as a glue between the host and guest operating systems.
None of the options given are helpful, so we have to dive into console. Press Control-Alt-F1 to open a virtual console.
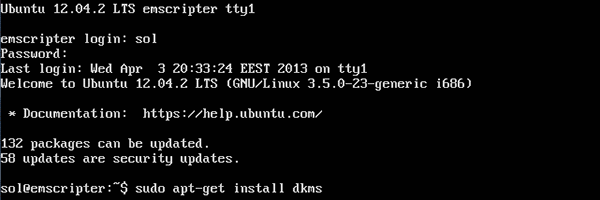
Log in with your name and password set during installation, and run:
sudo apt-get install dkms
The command will ask for your password. If you ran apt-get without sudo, you wouldn't get the password prompt, but apt-get would fail since you need root (administrator) priviledges to change the system, and that's precisly what sudo (super user do) does.
If this feels confusing, don't worry, I spent some time googling this.
We're not done yet. We need to mount the virtual disk with the quest additions. Click on Devices -> Install Guest Additions..
Check that Devices -> CD/DVD Devices -> IDE (IDE Primary Master) -> points at VBoxGuestAdditions.iso. If it doesn't, pick the "Choose virtual CD/DVD disk file.." option and hunt for the VBoxGuestAdditions.iso file. It should be somewhere in "program files/oracle/virtualbox".
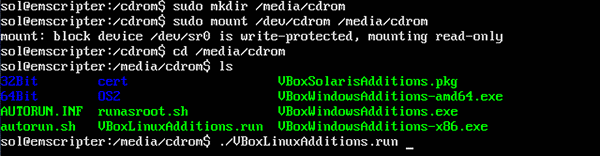
Create a new directory under /media to act as our mount point for the CD-ROM
sudo mkdir /media/cdrom
Mount the cd-rom..
sudo mount /dev/cdrom /media/cdrom
go check out what's on the disk..
cd /media/cdrom
ls
and run the installer.
./VBoxLinuxAdditions.run
Note that in Linux, you have to specify that you want to run something in the current directory explicitly - that's not assumed. And everything is case sensitive, so if you get an error about command not found, you probably misspelled something. Tab completion helps a lot.

Oops, we forgot to use sudo. Retry the command, prefixing it with sudo to run it as superuser:
sudo ./VBoxLinuxAdditions.run
You may note that sudo doesn't always ask for a password. There's a grace period where it trusts you. Wait for long enough and it'll ask for password again.

Once that's over with, let's reboot:
sudo reboot
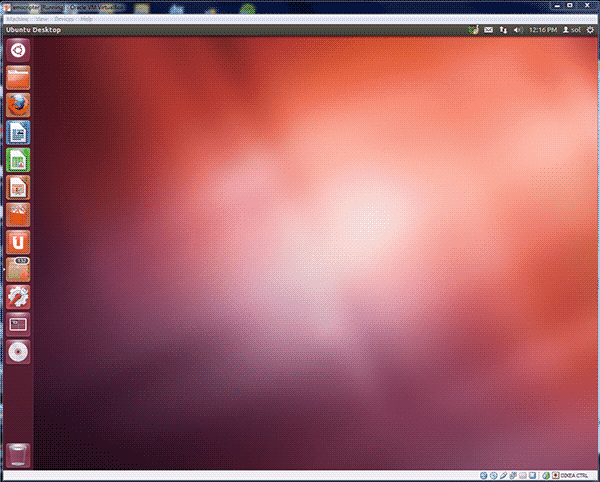
After reboot, you should be seeing the Ubuntu desktop. Finally.
Note that due to the guest additions, stuff like OpenGL acceleration, seamless mouse cursor sharing (without having to capture the mouse in the virtual box and escape the capture through some key combination), as well as clipboard sharing should now work. Aren't you lucky, not having to experience the world without these features!
Next we'll set up sharing files with the windows host..
As usual, feedback is appreciated.