Emscripten tutorial
Sharing files between vbox/linux and windows
Having a virtual box to compile stuff in isn't very useful if you have no way to share files between the host and guest operating systems.
Note that there's probably easier ways to do what I'm going to describe here, but this seems to work, so, bear with me.
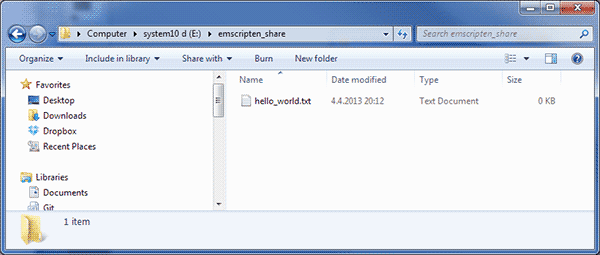
On the Windows side, create a folder that will be used to share files. I added an empty text file there just to see when things work.
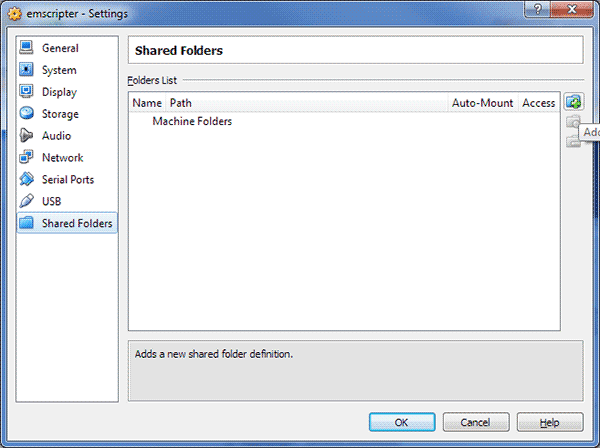
With the virtual box shut down, go to its options and under "Shared Folders" tab, click on the small "Add" icon on the side.
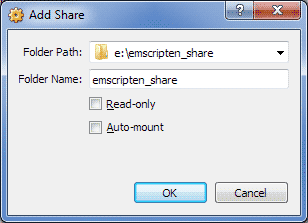
Pick the folder you created. If the folder does not exist, VirtualBox won't let you continue. There's an Auto-mount option here, but that mounts the share as root, which makes it rather difficult to use (unless you like working as root, which is not recommended).
The "folder name" is used when mounting the share on Linux side later on.
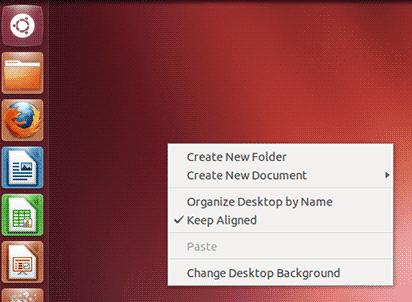
Boot up your virtual Linux, right-click on the desktop and create a new folder. We'll be doing all the work under this folder.
Yes yes, making work directories on the desktop isn't the cleanest way to work, but we're just here to compile some files, right?
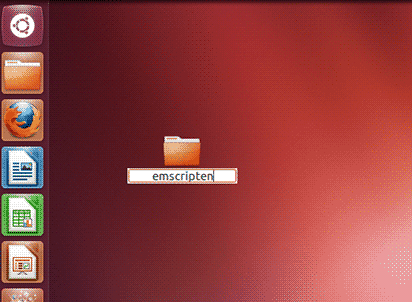
Name the folder in some sane way; in my case I picked emscripten.
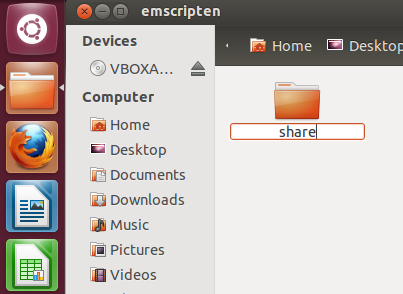
Open the folder, and in the folder, create a new one. I called this one "share".
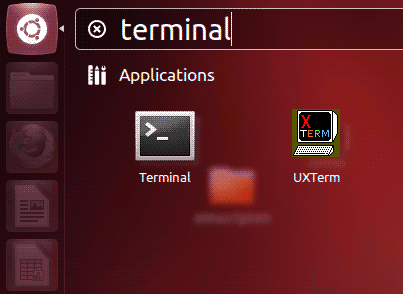
Click on the top left ubuntu icon and type "terminal" to start a terminal window. You could use Control-Alt-F1 to use a virtual console as well, but using terminal windows is more convenient.
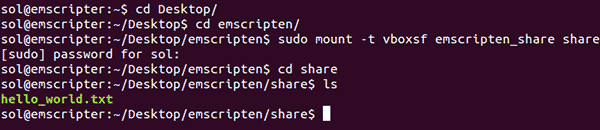
In the terminal, go to the emscripten directory
cd Desktop/
cd emscripten/
Mount the VirtualBox share to the share directory. Due to sudo, your password will be prompted again.
sudo mount -t vboxsf emscripten_share share
Check that the share works:
cd share
ls
If in the future you find that the share directory doesn't have this magic anymore, just mount it again.
Next we'll finally get to installing Emscripten..
As usual, feedback is appreciated.