Emscripten
Installing Virtualbox
First, download Oracle VirtualBox from the VirtualBox site. I used version 4.2.10, but due to the very rapid release schedule there's probably a new version by the time you're reading this. VirtualBox is cool in many ways, including the fact that it's free for most uses and it lets you use hardware-accelerated OpenGL in virtualized Linux.
To save time, also go and download the ISO image of Ubuntu from the Ubuntu site. I picked the 32bit 12.04 LTS version, primarily because I don't feel like reinstalling my virtual boxes every year or so..
Once the VirtualBox installer has downloaded, run it.
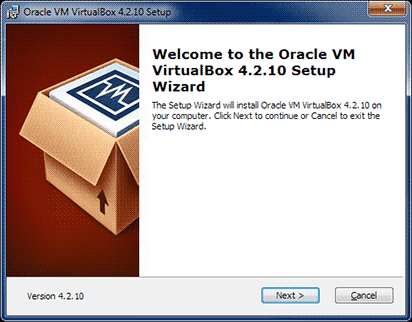
For the most part, you should be OK with the defaults.

If you wish, you can change the install location here.
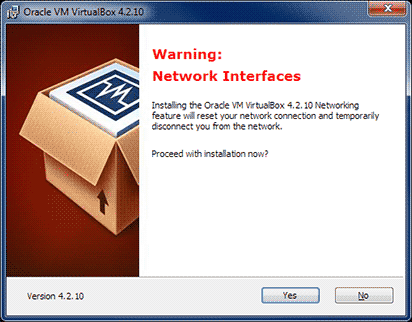
Do note that installing (or reinstalling, or updating) VirtualBox will cause your network connection to break for a short while, which practically just means that your precious IRC connection may need to be manually restarted. It's a little annoyance, but understandable. On the positive side, your virtual linux will be able to access the internet, which makes things much simpler.
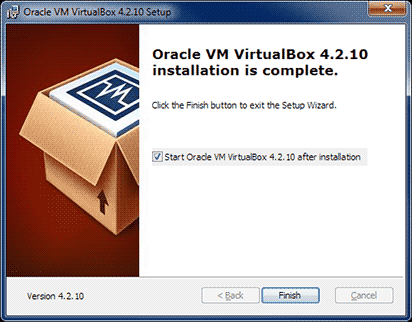
Once VirtualBox is installed, we can prepare the virtual box for the Ubuntu installation.
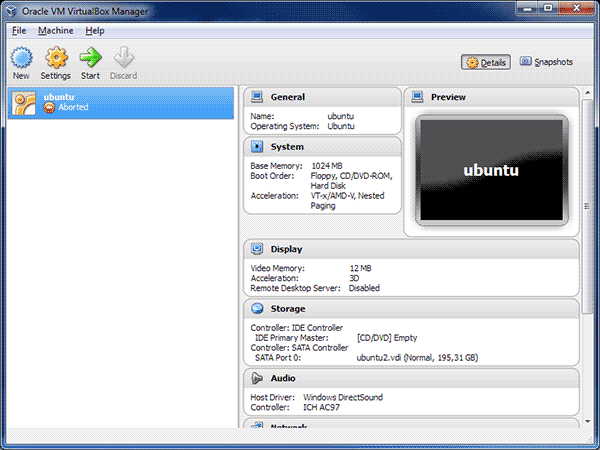
As you can see, I already had an ubuntu box; you should see an empty list here. Click on "new" to start creating a new virtual box.
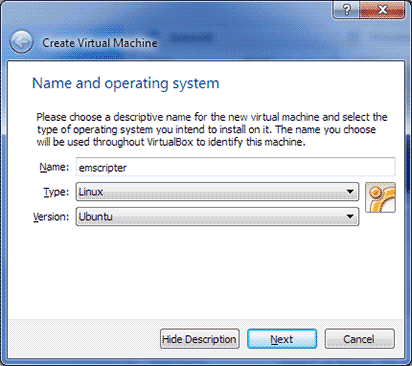
Pick a sane name (like "ubuntu"); I decided to name the box "emscripter".
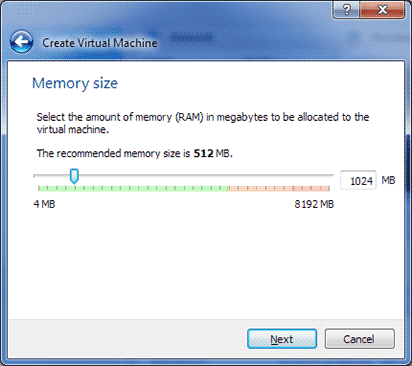
To be on the safe side, I decided to give the virtual box one gigabyte of memory. It hasn't run out so far. You can adjust this later if you find you need more memory.
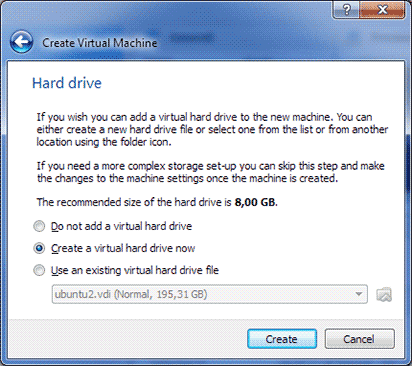
We'll need to create a virtual hard drive where the virtual box will live. Just pick the "Create a virtual hard drive now" option.
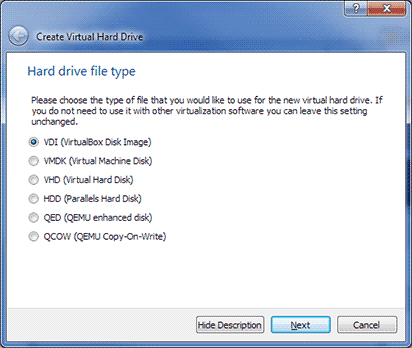
VirtualBox gives you plenty of different format options, but I've found the VDI works just fine. This probably matters if you plan on using the same image with different virtualization packages.
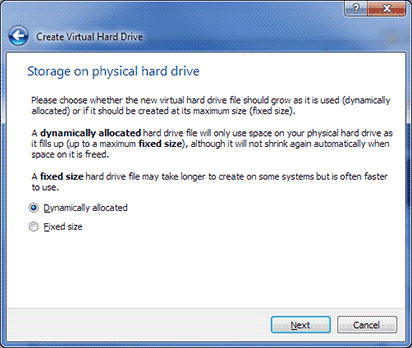
A fixed size disk is presumably slightly faster than dynamically allocated; I just went with the dynamic one.
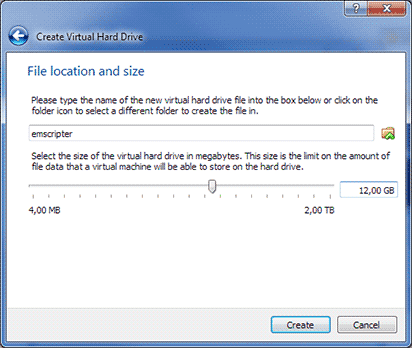
To be on the safe side, I scaled the virtual disk up to 12GB. The .vdi file on disk after installing Emscripten was around 4.5GB, so the 8GB default is probably enough, unless you plan on compiling truly huge projects.
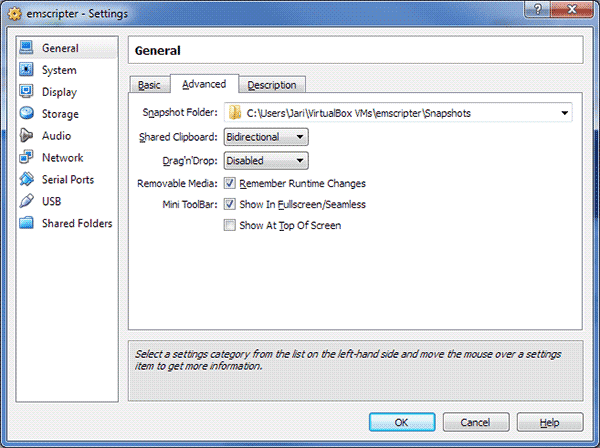
Next, open settings for the newly created virtual box. In "General" tab, set Shared Clipboard to Bidirectional. That saves a lot of trouble in the future, as you can copy-paste stuff between Windows and your virtual Linux.
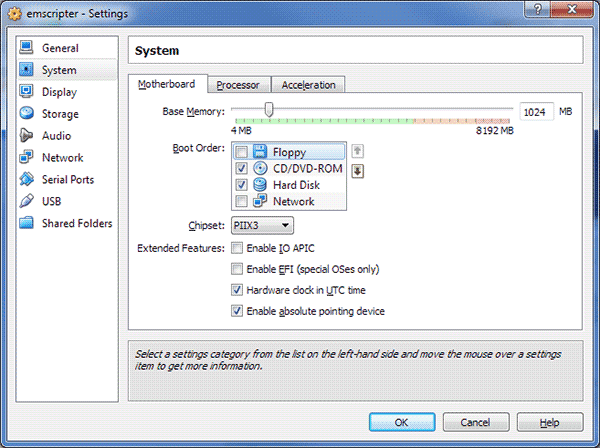
Under the System tab, I disabled floppy boot so the virtual box won't access the floppy for no reason. You can also adjust memory size, how many CPUs the virtual box can use, etc.
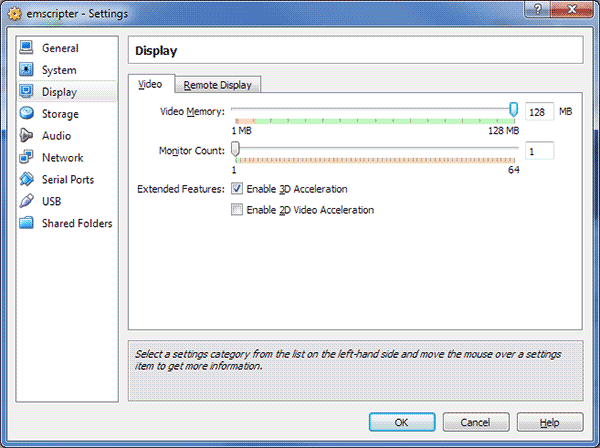
In Display, I enabled the 3d acceleration and pumped the video memory to the maximum 128MB. 2d acceleration is only supported for Windows guests.
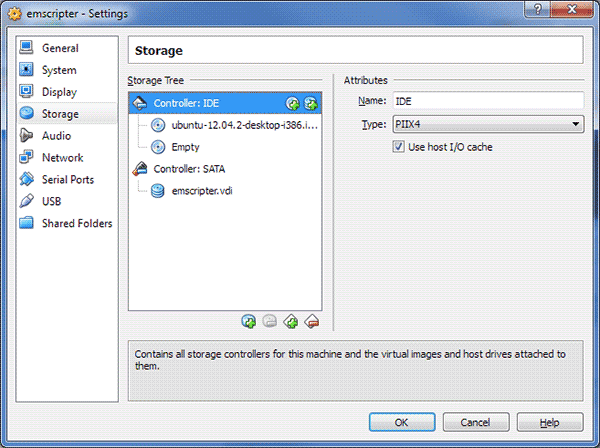
In "Storage", I added the Ubuntu image to the IDE controller. That will make the virtual box use the ISO image as a virtual CD-ROM drive.
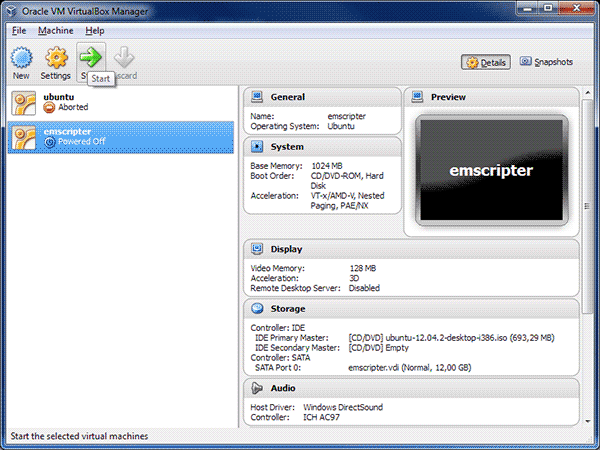
Next, we're ready to boot our virtual box!
Next we'll set up Ubuntu..
As usual, feedback is appreciated.