Nikko 6V USB Mod
Our son got a Nikko remote controlled car as a present at some point in the past few years. Okay, he has got a bunch of them; try to be a male child in a western country and not get a remote controlled car as a present from some relative or other..
Anyway, this is a story of a specific one. It's meant to survive being driven outdoors, and looks something like this:

It ran on a rechargeable battery pack which proudly shows it's six volts. Internally the pack consists of five 1.2 volt rechargeable cells in series.
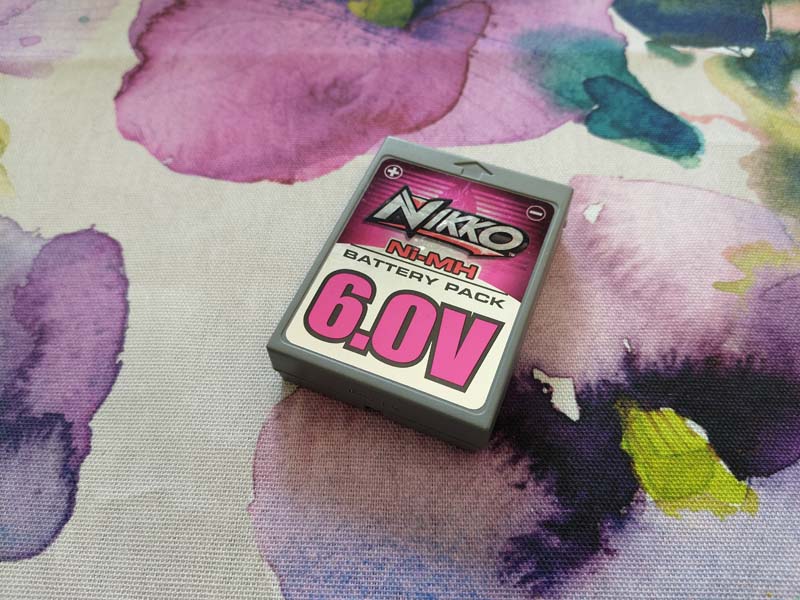
The problem with this battery pack is that it sucks. You can drive for about five minutes and it's drained. To the best of my knowledge, Nikko didn't produce beefier packs or in fact any replacements at all. Web search finds a bunch of people selling the chargers but nobody is selling the packs, because they're totally dead by now.
A few days ago I got this idea that since it's a rechargeable pack, the electronics will probably work just fine with 5 volts.
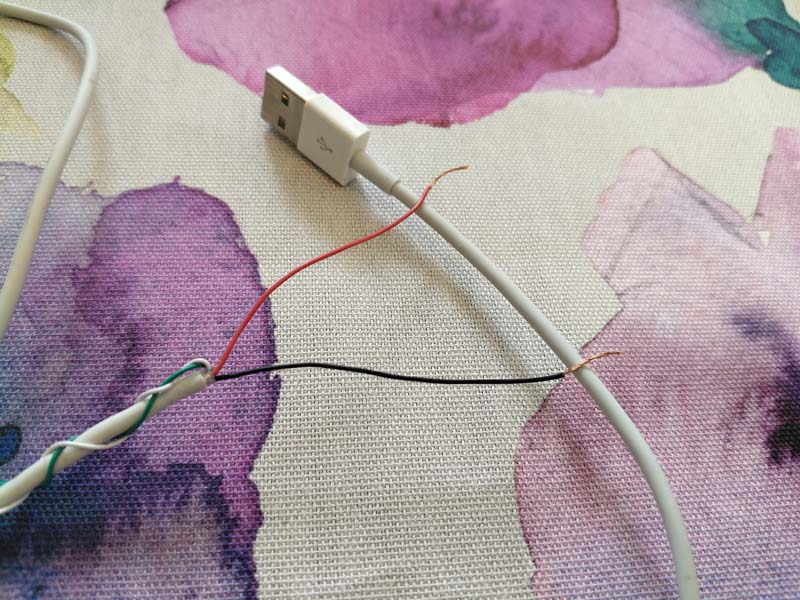
So I took a broken USB cable apart (thanks to Apple's lightning cables being so fragile, I have plenty of these). The red and black wires are the +5v and 0v. For this project, the data wires don't matter.

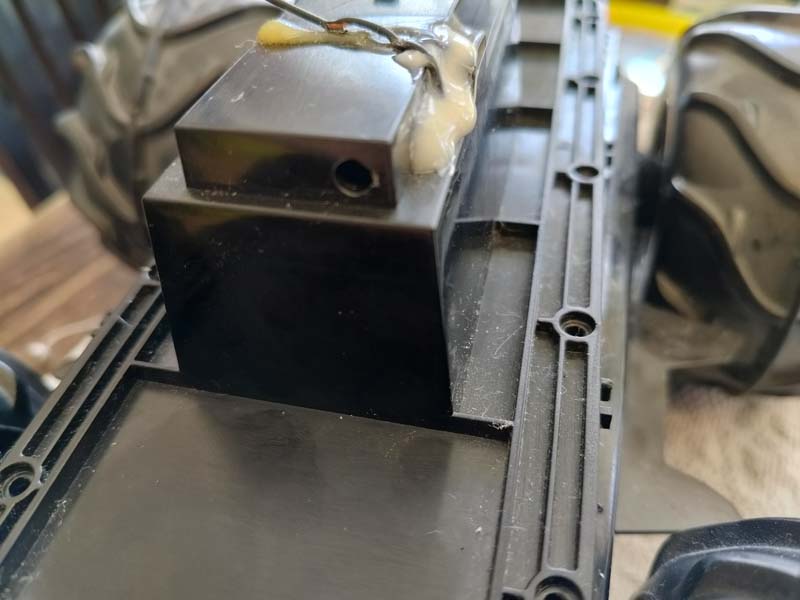
After taking the car apart I was pleasantly surprised to find that the battery contacts are screwed in. This will be a zero solder job!
I screwed the wires in, plugged an USB power bank to the cable, and tried the controller - the wheels spun. Sounds like my theory was solid.
Next the cable needs to get out of the car. First I drilled a hole in the top corner of the battery container. The hole is just big enough to get the USB cable through. In practice it could have been smaller and just run the exposed wires through, but this way I had more slack to comfortably work with the wires.
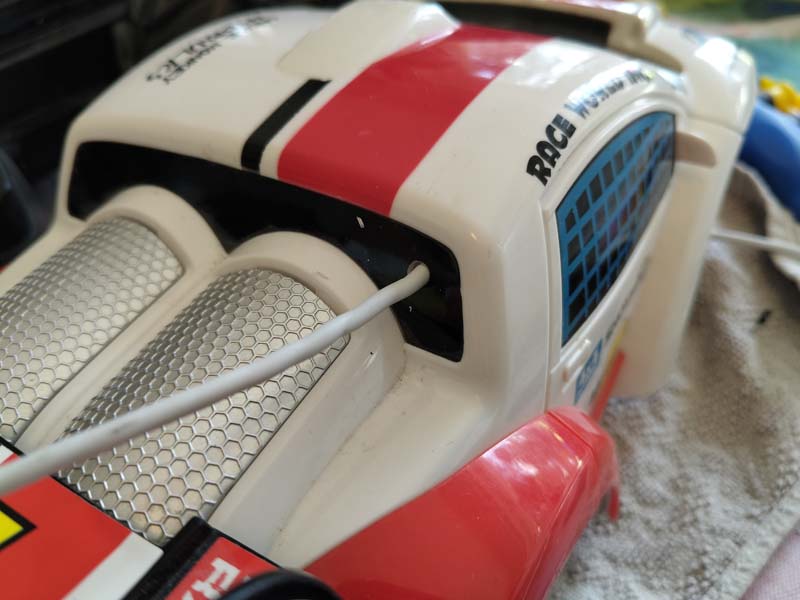
Another hole was drilled on the outside chassis because I was planning on just putting the battery pack on top of the car. USB cable went through there.
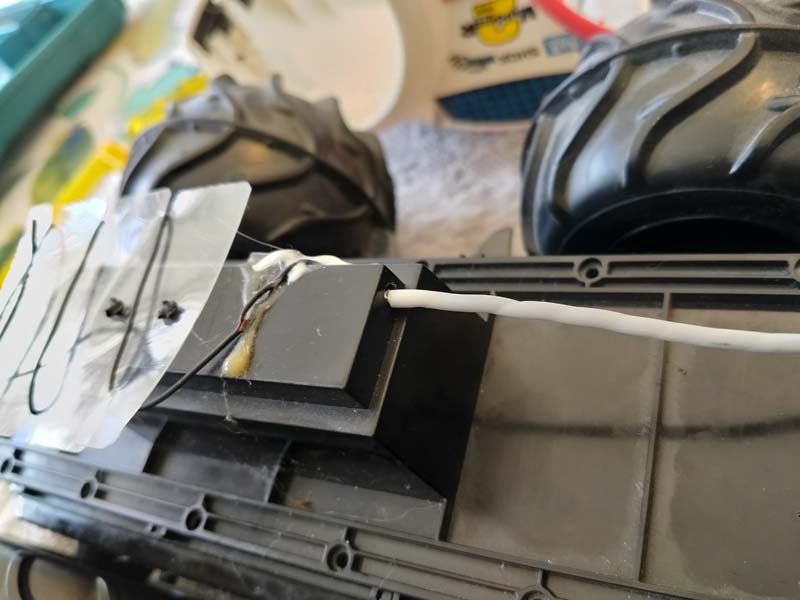
As well as through the battery compartment hole.
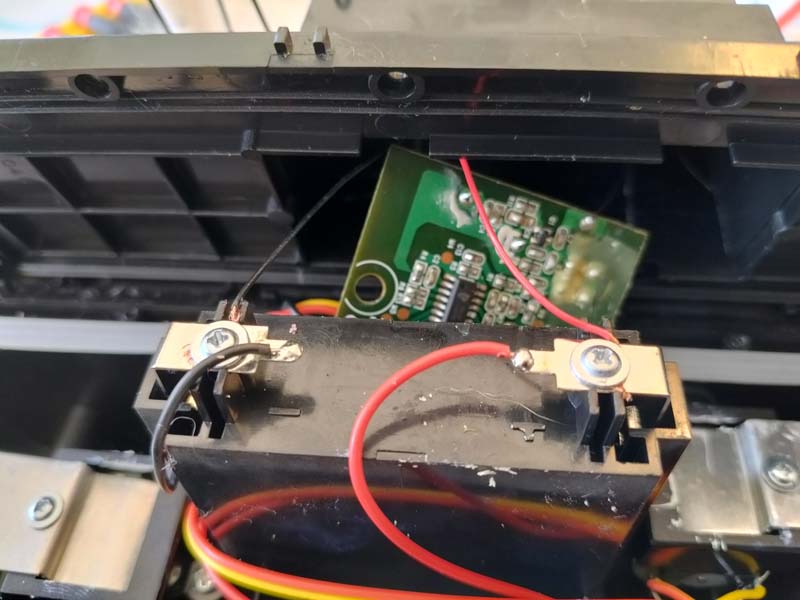
Then the wires were screwed in place again.
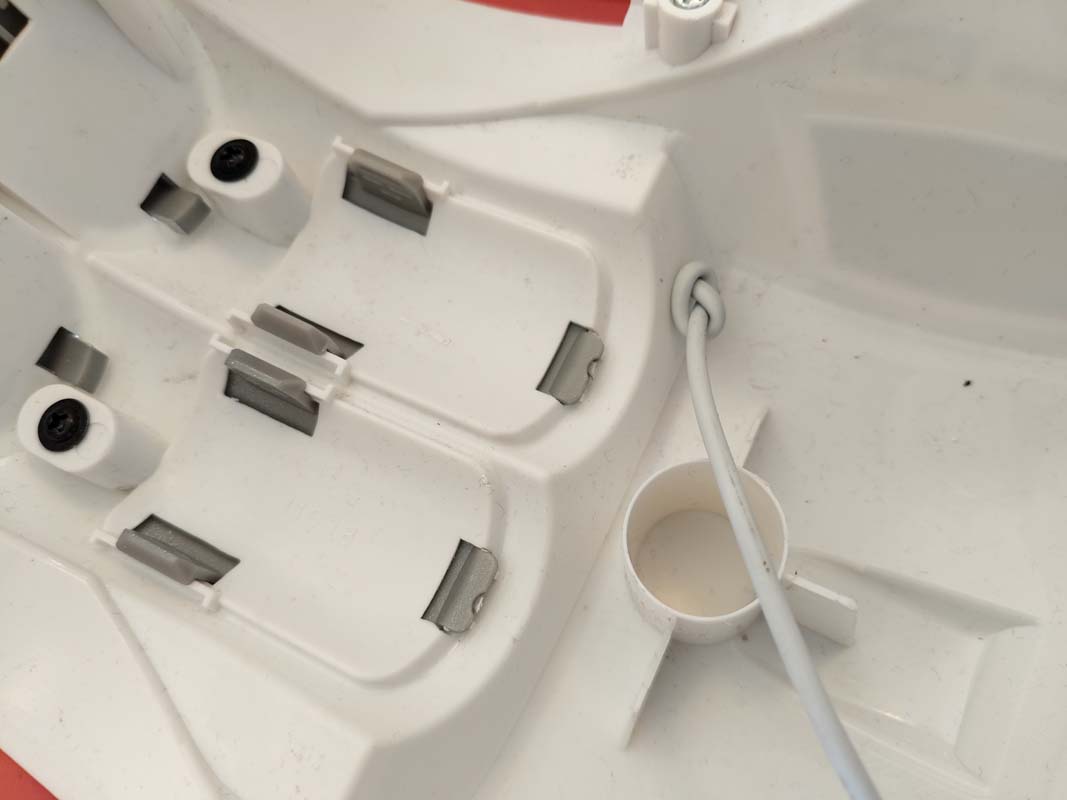
This one was a bit tricky but critical: I tied the USB cable in a knot inside the chassis to avoid tugging on the cable on the outside to break the contacts.
This would have been SO much easier before screwing the wires in place, but we had already put about two dozen screws in place as well.. luckily the cable was long enough to make the knot.
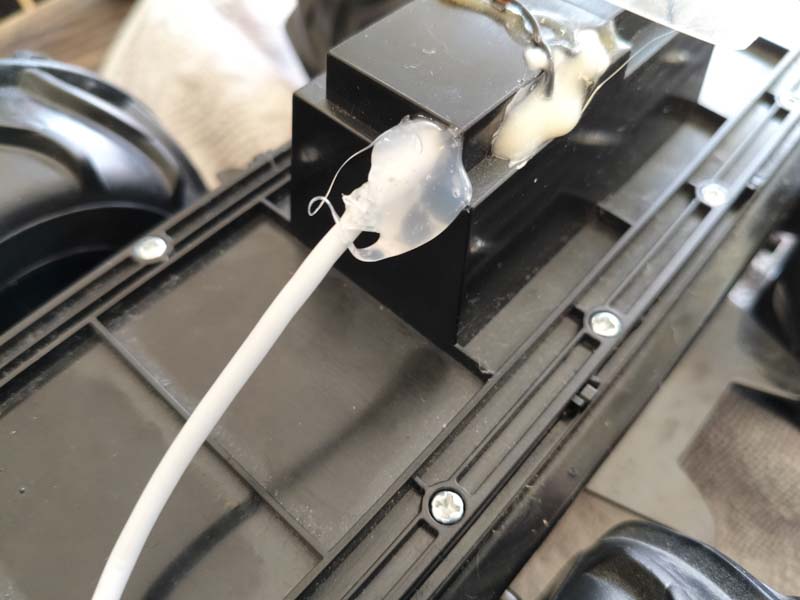
As a finishing touch a couple generous blobs of hot glue was added.

Whether this is useful or not in practice is a good question. The battery pack won't be waterproof in any case.

And here we go, finished project.
While testing, the car went forward and backward without any issues, and could turn by using just the left or right wheels at a time, but if you tried to move one set of tires forwards and others backwards at the same time, the car struggled for a while, and then the battery pack gave up.
I tried with 1A and 2A ports in a couple of battery packs with exactly the same behaviour, so I doubt it's about amperage.. or if it is, that would explain why the original battery packs drained so quickly.
If someone wants to do a similar mod, I'd recommend two changes: First, add a 1A fuse, and second, consider using a 5v->6v step up converter (such as the ubiquitous T3608).
And please don't mail me with "you could have replaced the battery pack with xyz", I'm aware. This was a more fun project for me.
Other than that, as always, comments are welcome