Guide
This is a brief guide to working with Atanua, trying to answer the most common questions. Please also check out the interactive flash tutorial.
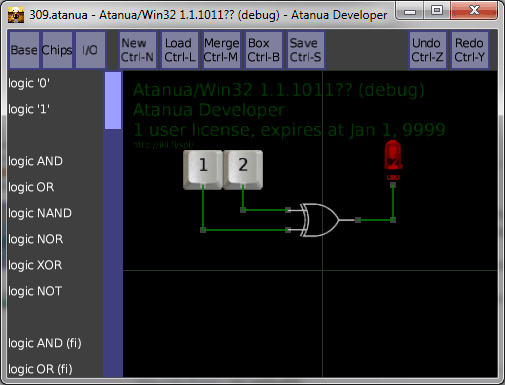
Basics
Navigating: drag on the background of the work area to move around. Use scroll wheel or + and - keys to zoom in and out.
Creating parts: drag and drop items from the item list on the left.
You can choose between different kinds of part lists with the buttons on the top left corner of the window (base, chips, in, out, misc).
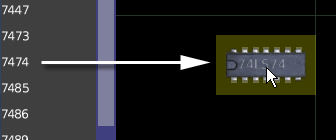
Tooltips: Hover over a pin, part or a wire for a tooltip.
All of the tooltips are designed to help figure out which bit is which. You can adjust the tooltip delay in atanua.xml.
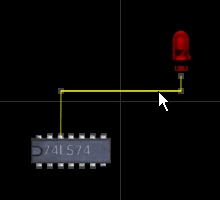
Creating wires: Wires are simply dragged from one pin to another. To clean up wires, drag near the middle of a wire to make a corner.
For more about working with wires, check the flash tutorial.

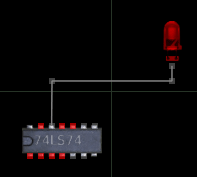
Wire colors: The wire colors show quickly the state of the connection
Error, not connected, high or low signal.
Deleting items and wires: click on the item or wire to select it, press delete or control-d to delete.
Atanua has an unlimited undo/redo stack, so you can undo and redo things with control-z and control-y.

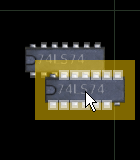
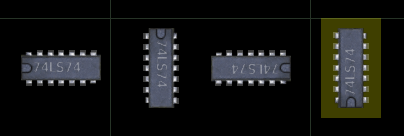
Selecting multiple items: Drag while pressing shift to select multiple items at the same time.
While selected, you can drag the items around or delete them.
Cloning: If you need to create multiple copies of a single object, you can drag it while pressing control. This is likely to be faster than dragging all of the copies from the item list.
Rotating: While selected, control-r rotates the chip in 90 degree increments.
Hilight problem pins: Pressing alt will color the pins that need to be wired for the part to function.
Boxing
"Boxing" is a way to create new parts in Atanua, using Atanua. This is a very powerful feature, and may easily lead to designs which contain thousands of parts.
Start off with a normal design.
You can use input and output parts, but when this design is boxed, they are removed from the design during an optimizing pass. This means that buttons inside a box won't receive keypresses.
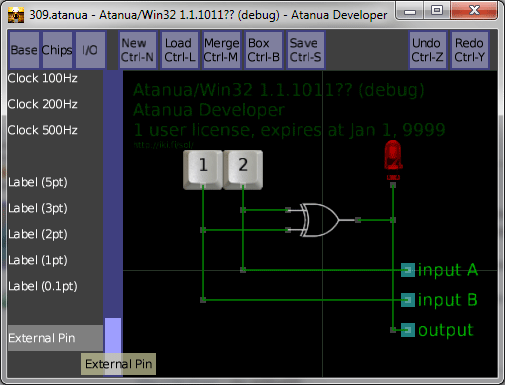
Add "external pins". These are the pins that will show outside your box.
You can control the side the pin appears by prefixing the pin label with < or > characters, for example "<input" and ">output".
Save the project.
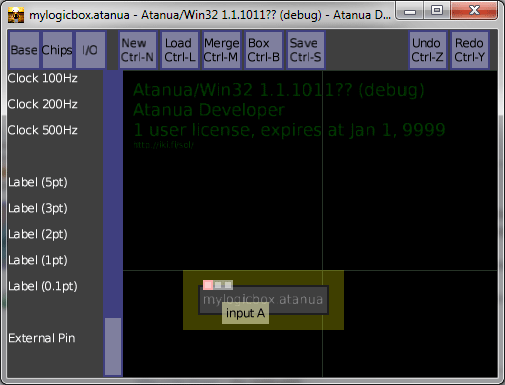
In a new project, load the previous one using the "Box" button (Control-B).
You will note that the pins show ther "external pin" names as tooltips.
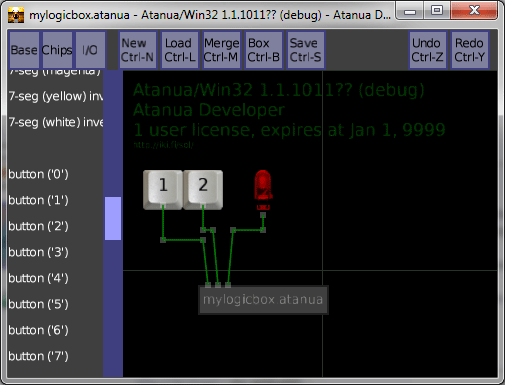
Your new boxed chip can now be used like any Atanua component.
As a hidden feature, if you want to see what kind of optimization Atanua does to your designs when boxing them, press Control-O (as in Oh, not zero).
Is this guide missing something obvious? Contact us.
Site design © 2013 Jari Komppa